
Report Properties Panel
Clicking on the Report tool (Figure 1.1) will bring you by default to the report properties panel showing an empty landscape where the reports will be generated. The empty Report here named “Report” can be renamed with the target name, just by double clicking on it and editing as desired. More reports can be added by clicking the “+” button or duplicate a report with the overlaid rectangle button (Figure 1.2). A report can be deleted with the “- “button. Reports can have multiple different page formats such as Landscape (default), Portrait, PowerPoint, Poster or a custom format (Figure 1. 3). Generated reports and batched reports can be reformatted by clicking on a different page format.
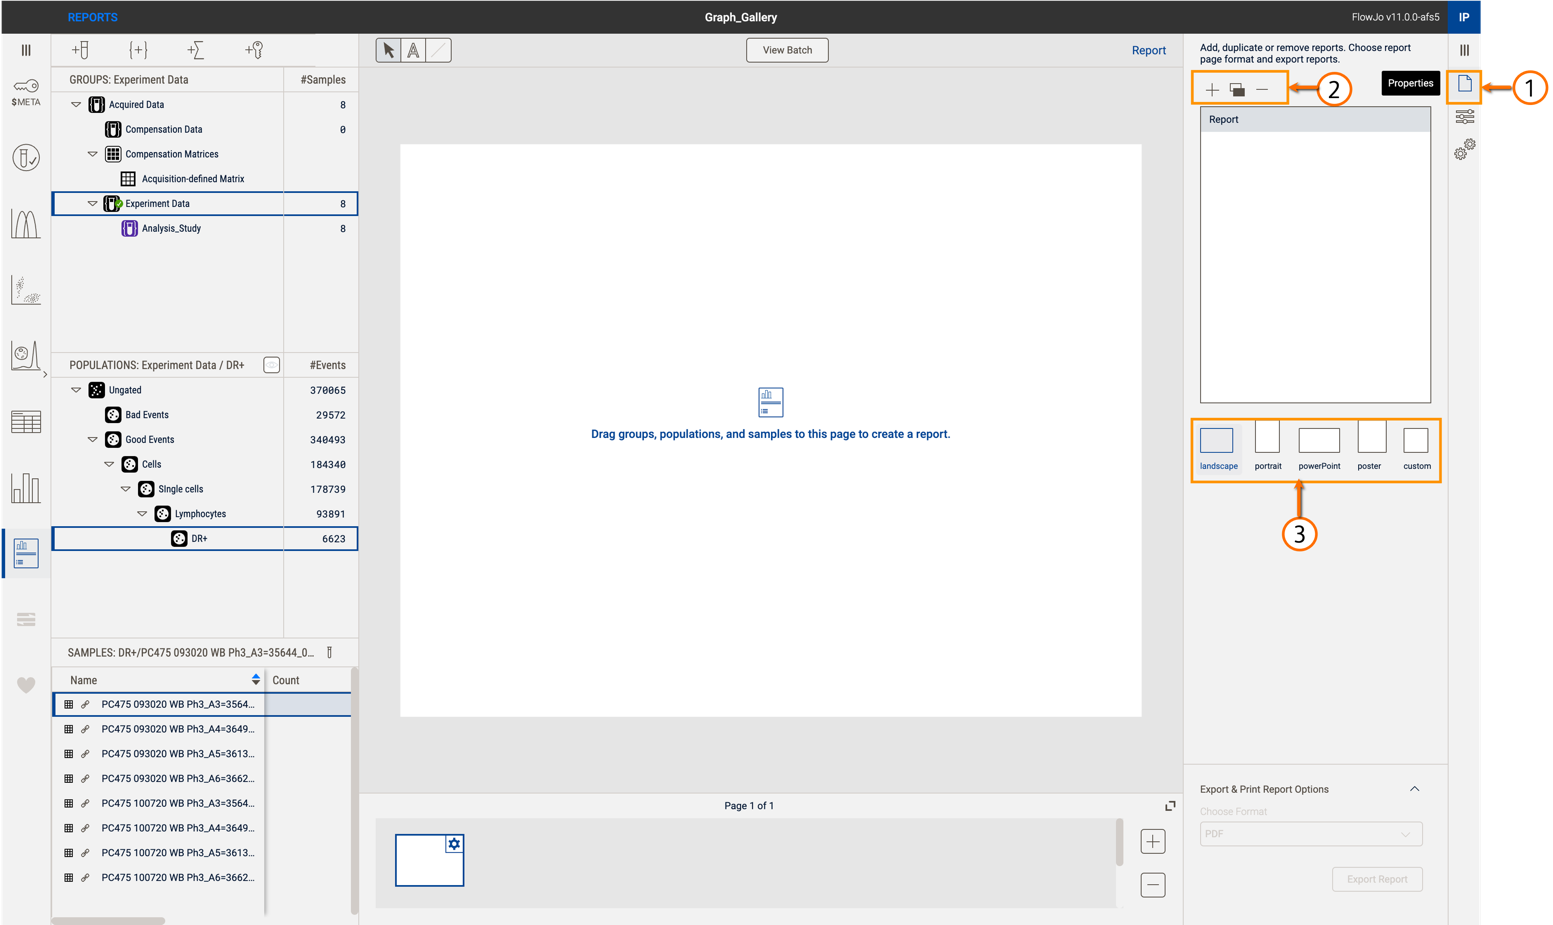
Figure 1. Report Properties panel, managing reports and display
Choosing a custom page format allows for more specific modifications where one can set a custom unit of inches, centimeters or pixels and setting the Width and Height of the latter choices (Figure 2).

Figure 2. Custom page format in Report properties panel