
The CellView Lens can either extract images from .cvw or map extracted .tiff files to the current analysis.
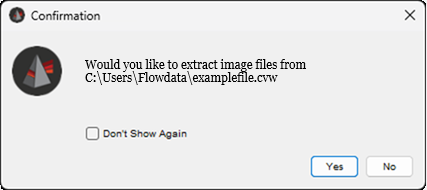
When the first plugin node is created for a sample’s population, the new plugin node will prompt you whether you would like to extract the images if the Chorwave file (CVW) is found in the same location as the FCS you are running the analysis on.
The first time you agree, the application will display a message noting that the software to do TIFF extraction is being installed. A CellViewExt folder will appear in your plugin folder with a pair of operating system dependent subfolders. Within the folder named for your OS the file doTiffextraction.exe will appear. This will only happen once, and then the software is ready to go.
The CellView Lens plugin will create a folder structure matching the Chorus structure, and populate it with TIFFs. On completion an Image Explorer window will pop up.
If no CVW file is detected the plugin will attempt to find the image folder and file name mapping based on the location of the FCS file. Typically the image files are organized into numerical subfolders (e.g. ‘00000000’, ‘00010000’, etc) where 10,000 images files are located in each subfolder.
After mapping the image files to events, you can either confirm or change the root folder of image files and the name mapping information. If the file name prefix, suffix, and event number length are correct, the plugin displays a confirmation that an image file is correctly found. If not, you can enter the prefix and
suffix values manually until the image file name is confirmed.

If you want to analyze images from the BD® Research Cloud, click the BD Logo icon.
If the folder and prefix are correct, a green check mark will appear next to the example file, indicating you are ready to proceed.